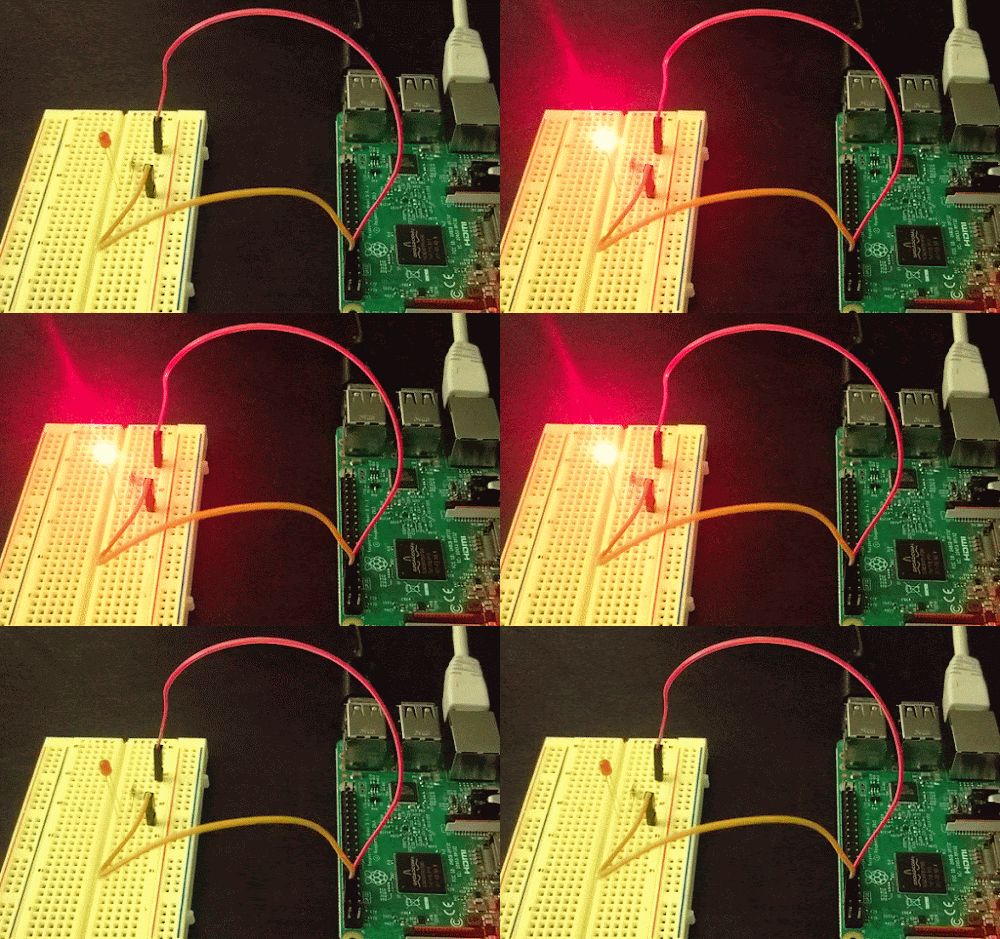
Here we are going to Initialize the GPIO ports and Turn the LED on and off in 1-second intervals
To initialize the GPIO ports on the Raspberry Pi we need to first import the Python library, initialize the library and set up pin 8 as an output pin. We will need the following tools to complete the project:
Components
We will need the following tools to complete the project:
- Raspberry Pi 3 setup with monitor and USB Mouse & Keyboard
- Solderless breadboard
- Jumper wires for easy hookup
- Resistor 80ohm
- Red LED
Circuit Diagram
With the circuit created we need to write the Python script to blink the LED. Before we start writing the software we first need to install the Raspberry Pi GPIO Python module. This is a library that allows us to access the GPIO port directly from Python.
To install the Python library open a terminal and execute the following command:
" sudo apt-get install python-rpi.gpio python3-rpi.gpio"
Programing
import RPi.GPIO as GPIO # Import Raspberry Pi GPIO library
from time import sleep # Import the sleep function from the time module
GPIO.setwarnings(False) # Ignore warning for now
GPIO.setmode(GPIO.BOARD) # Use physical pin numbering
GPIO.setup(8, GPIO.OUT, initial=GPIO.LOW) # Set pin 8 to be an output pin and set initial value to low (off)
while True: # Run forever
GPIO.output(8, GPIO.HIGH) # Turn on
sleep(1) # Sleep for 1 second
GPIO.output(8, GPIO.LOW) # Turn off
sleep(1) # Sleep for 1 second
With our program finished, save it as blinking_led.py and run it either inside your IDE or in the console with:
$ python blinking_led.py
